
Step-by-Step Guide to Making Accessible Transcripts
What is a transcript?
Imagine you have a video or audio file. A transcript is a written version of everything said, and important elements that are heard or seen in that file.
Why Are Transcripts Important?
Transcripts allow people of all abilities and people in different environments consume any content with audio.
Helps People with Hearing Issues: Allows them to read along!
Provides visual content to those with vision impairments: Can offer audio descriptions of important visual elements.
Makes Content Easier to Find: Search engines can read text, making your content more discoverable.
Useful in Noisy Places: Reading is easier when you can't hear well.
Good for People Who Learn by Reading: Some people just prefer to read.
So let’s take a few minuts to learn what it takes to make a transcript accessible.
Watch the video to experience the difference between an accessible and non-accessible transcript (screen reader audio included). 👇🏼
Starting with Autogenerated Transcripts
In most cases you will be using YouTube, Vimeo, Descript, or another editing software to automatically create transcripts for your videos and/or podcasts.
If you’re not, save yourself some time and start doing it now!
There is no reason to be manually creating transcripts. Every software offers a different level of transcription, and regardless of what you are using to make them, it is crucial to review your transcripts before publishing them.
In most editors you can view your automated transcript in text or by time stamps. This is also how users will choose to view them based on their own preferences. We suggest editing your transcript in text moade.
For today’s example, we are going to pretend we just made a video about how to make the best homemade pizza. You only have access to the transcript.
So, let’s see how your experience and understanding of our video changes as we go through each step to make the transcript accessible.
Sample Starter Transcript
This transcript is raw and unedited, exactly how many software programs will initially create your transcripts. Visually you can see it is just a huge block of text.
welcome pizza lovers today we're showing you how to make the ultimate homemade pizza that's right we'll cover everything from dough to toppings first let's talk about the dough we're using a simple recipe you'll need flour water yeast salt and olive oil here's the flour and now the water remember the water should be lukewarm to activate the yeast and now we knead the dough this is important for a good crust you want it smooth and elastic like this now we let it rise we'll cover it and let it sit for about an hour while the dough rises let's make the sauce we're using crushed tomatoes garlic and herbs a little sugar helps balance the acidity of the tomatoes and don't forget the basil it adds a great flavor now for the fun part toppings we're using pepperoni mushrooms and bell peppers first we stretch out the dough then we add the sauce and the cheese now the toppings feel free to get creative into the oven it goes we're baking at 450 degrees Fahrenheit it should take about 15 to 20 minutes and here it is our homemade pizza looks delicious let's give it a try mmm perfect crust and flavor thanks for joining us enjoy your homemade pizza
The simple lack of formatting is enough to make anyone click away. This is an extremely short transcript, just imagine what a 30+ minute video transcript would look like.
Word for Word Text
Transcripts should mimic your video or podcast verbatim, including "um," "uh," and "like," if they're important. If they aren’t, go ahead and delete them for a better reading experience.
If you can't hear something, maybe due to poor audio or interfering background noise, write [inaudible] or [unintelligible]. Those should be included in square brackets as shown.
If something is hard to understand, like when people use acronyms, explain it in square brackets (ex. “Add OWP to our pizza.” [Old World Pepperoni].
The speakers for our sample transcript were well rehearsed, so they had no fumbles to remove.
Proper Formatting
The first step to creating an accessible transcript is to use correct grammar and punctuation. Start sentences with uppercase letters, use periods, commas, proper spelling, etc. Use short paragraphs and line breaks for a cleaner appearance.
Remember, someone is reading this or using a screen reader to have it read to them, so it needs to be formatted correctly so it makes sense and reads as normal text, just like a book, blog post, or instructions would read.
Here is our cleaned up transcript. You can visually see the improvements that proper formatting makes.
Welcome, pizza lovers! Today, we're showing you how to make the ultimate homemade pizza. That's right! We'll cover everything from dough to toppings. First, let's talk about the dough. We're using a simple recipe. You'll need flour, water, yeast, salt, and olive oil. Here's the flour and now, the water. Remember, the water should be lukewarm to activate the yeast. And now, we knead the dough. This is important for a good crust. You want it smooth and elastic, like this. Now, we let it rise. We'll cover it and let it sit for about an hour. While the dough rises, let's make the sauce. We're using crushed tomatoes, garlic, and herbs. A little sugar helps balance the acidity of the tomatoes. And don't forget the basil! It adds a great flavor. Now for the fun part: toppings! We're using pepperoni, mushrooms, and bell peppers. First, we stretch out the dough. Then, we add the sauce. and the cheese. Now, the toppings. Feel free to get creative! Into the oven it goes! We're baking at 450 degrees Fahrenheit. It should take about 15-20 minutes. And here it is! Our homemade pizza! Looks delicious! Let's give it a try. Mmm, perfect crust and flavor! Thanks for joining us! Enjoy your homemade pizza!
Doesn’t that already read easier than our initial transcript.

Indicate Whose Talking
Did you know there are two people in our pizza making video?
Since you only have access to the transcript you’d probably not have realized that. It’s important to clearly indicate who is speaking during a podcast, presentation, or video that includes multiple people.
Thus, our next step is to identify speakers by listing their name or role followed by a colon (:) and their words in quotation marks (““).
Let’s see what that might look like in a snippet of our transcript.
Host: "Welcome, pizza lovers! Today, we're showing you how to make the ultimate homemade pizza."
Chef: "That's right! We'll cover everything from dough to toppings."
Host: "First, let's talk about the dough. We're using a simple recipe."
Chef: "You'll need flour, water, yeast, salt, and olive oil."
Host: "Here's the flour and now, the water."
Chef: "Remember, the water should be lukewarm to activate the yeast."
As you can see, this brings a whole new understanding to the video.
And a bit of different formatting. If there is only one person in the video/podcast, it makes sense to format your transcript in short paragraphs. But when you introduce multiple speakers, it’s more helpful to layout the text line by line.
Some editors can help you with this step by allowing you to insert different speaker’s names and the software will auto-identify each person. That saves you a bit of time by just needing to verify it generated correctly.
Add Time Stamps
Breaking up the transcript by time stamps can be helpful for navigation and for referencing key parts of a video or podcast. Use square brackets, like this: [00:30] (that's 30 seconds in). Most editors will add these for you automatically, generally every 15 to 30 seconds. We have yet to meet an editor that doesn’t do this, so hopefully this is a step you can simply check off your list.
Here is what a bit of our transcript would looklike with time stamps.
[00:00] Host: "Welcome, pizza lovers! Today, we're showing you how to make the ultimate homemade pizza."
Chef: "That's right! We'll cover everything from dough to toppings."
[00:15] Host: "First, let's talk about the dough. We're using a simple recipe."
[00:20] Chef: "You'll need flour, water, yeast, salt, and olive oil."
[00:30] Host: "Here's the flour and now, the water."
[00:45] Chef: "Remember, the water should be lukewarm to activate the yeast."
Now, if someone watched this video and needed to go back and reference what was needed for the dough, they could easily check the time stamp and jump right to that part of the video.
Include Chapter Markers

By adding chapter markers to your transcripts it will further improve the accessibility, making it easier for those with vision impairments, cognitive challenges, and people who prefer to read content navigate the video or audio much quicker, offering a great user experience..
Chapter markers, like most time stamps, are usually clickable links allowing users to quickly get to the part of the video they want to access. In the snippet of our transcript below, the chapter markers are in bold and a different font color. This is not something you need to do, it is just to help those visually seeing our example know where to put the chapter markers.
[00:00] Introduction
Host: "Welcome, pizza lovers! Today, we're showing you how to make the ultimate homemade pizza."
Chef: "That's right! We'll cover everything from dough to toppings."
[00:15] Making the Dough
[00:15] Host: "First, let's talk about the dough. We're using a simple recipe."
[00:20] Chef: "You'll need flour, water, yeast, salt, and olive oil."
[00:30] Host: "Here's the flour and now, the water."
[00:45] Chef: "Remember, the water should be lukewarm to activate the yeast."
[01:05] Host: "And now, we knead the dough. This is important for a good crust."
[01:30] Chef: "You want it smooth and elastic, like this."
[02:00] Host: "Now, we let it rise. We'll cover it and let it sit for about an hour."
[02:15] Preparing the Sauce
[02:15] Chef: "While the dough rises, let's make the sauce."
Often times these chapters also appear in video descriptions and podcast show notes, giving users more control over navigation.
Adding Audio Descriptions
The last step to making our transcript accessible is to add audio descriptions.
Audio description (AD), by definition, is a spoken narration, AND text description added to transcripts, that describes the visual elements of a video, allowing individuals with visual impairments to understand the content. Adding AD is crucial to provide full accessibility to videos.
These descriptions should be put in square brackets [], just like time stamps.
Some things to describe include:
What people are doing (pointing to a referenced graph, making a confused face during an intentional awkward pause).
Changes in the scene (moving from an office scene to strolling through a park).
Any text on the screen (text or animations that move/appear on screen that are NOT spoken).
Important sounds (someone leaving a room and slamming a door). These are not normal background noises but sounds that would help explain a scene or action.
Since you haven’t seen our fictitious pizza video, let me add some AD to the transcript to help you visualize the scene.
[00:00] Introduction
Host: "Welcome, pizza lovers! Today, we're showing you how to make the ultimate homemade pizza."
[The host smiles and gestures towards a table with pizza ingredients.]
Chef: "That's right! We'll cover everything from dough to toppings."
[00:15] Making the Dough
[00:15] Host: "First, let's talk about the dough. We're using a simple recipe."
[00:20] Chef: "You'll need flour, water, yeast, salt, and olive oil."
[00:30] Host: "Here's the flour... [The host holds up a bowl of flour.]... and now, the water."
[00:45] Chef: "Remember, the water should be lukewarm to activate the yeast."
[01:00] [The chef mixes the ingredients in a bowl.]
[01:05] Host: "And now, we knead the dough. This is important for a good crust."
[01:15] [The chef kneads the dough on a floured surface.]
[01:30] Chef: "You want it smooth and elastic, like this."
[01:45] [The chef demonstrates the texture of the dough.]
[02:00] Host: "Now, we let it rise. We'll cover it and let it sit for about an hour."
[02:10] [The dough is placed in a bowl and covered with a cloth.]
[02:15] Preparing the Sauce
[02:15] Chef: "While the dough rises, let's make the sauce."
[02:30] Host: "We're using crushed tomatoes, garlic, and herbs."
[02:45] [The host adds ingredients to a saucepan.]
[03:00] Chef: "A little sugar helps balance the acidity of the tomatoes."
[03:15] [The saucepan simmers on the stove.]
[03:30] Host: "And don't forget the basil! [The host adds fresh basil.] It adds a great flavor."
[03:45] Adding the Toppings
[03:45] Chef: "Now for the fun part: toppings!"
[04:00] Host: "We're using pepperoni, mushrooms, and bell peppers."
[04:15] [The host lays out the toppings on the counter.]
[04:30] Chef: "First, we stretch out the dough."
[04:45] [The chef stretches the dough into a pizza crust.]
[05:00] Host: "Then, we add the sauce... [The host spreads the sauce on the crust.]... and the cheese."
[05:15] [The chef sprinkles mozzarella cheese on the pizza.]
[05:30] Chef: "Now, the toppings. Feel free to get creative!"
[05:45] [The host and chef arrange the toppings on the pizza.]
[06:00] Baking the Pizza
[06:00] Host: "Into the oven it goes! We're baking at 450 degrees Fahrenheit."
[06:15] [The pizza is placed in the oven.]
[06:30] Chef: "It should take about 15-20 minutes."
[06:45] [The timer beeps.]
[07:00] Host: "And here it is! Our homemade pizza!"
[07:15] [The host pulls the pizza out of the oven. The pizza looks golden brown with melted cheese and toppings.]
[07:30] Tasting and Conclusion
[07:30] Chef: "Looks delicious!"
[07:45] Host: "Let's give it a try. [The host cuts a slice of pizza.]"
[08:00] Chef: "Mmm, perfect crust and flavor!"
[08:15] Host: "Thanks for joining us! Enjoy your homemade pizza!"
[08:18] The Host and Chef wave good bye.
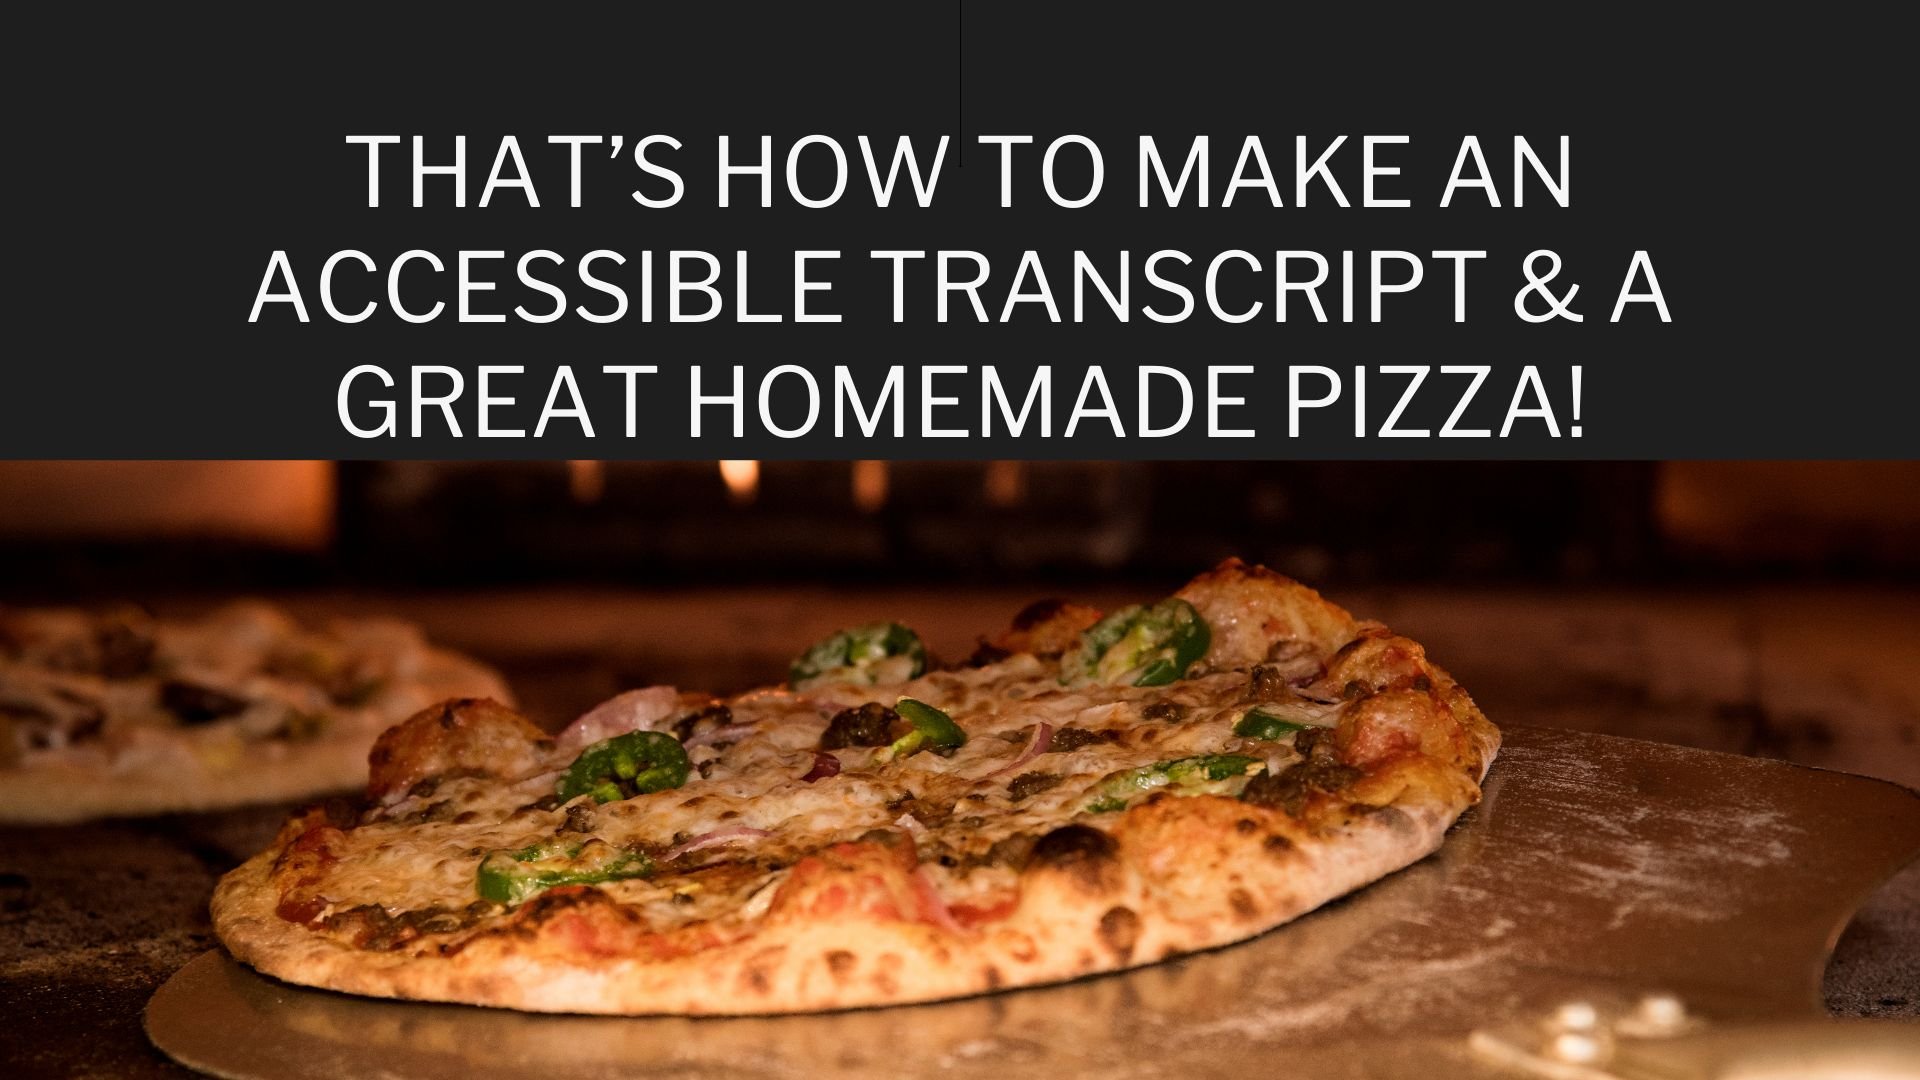
And that is our FULLY ACCESSIBLE transcript!
Sharing Your Transcript
Once your transcript is ready to go, how and where do you share it?
Start by saving it as a simple text file (.txt), HTML, or a document (.doc). These are the easiest formats for people to interact with when using assistive technology.
You likely already know to include transcripts in your video descriptions and podcast show notes. But you can also share it simply as a link on your website, in blog and social posts, or anywhere else you normally share that content.
By offering a quick link to the transcript you are saving your users from having to jump through hoops to get to it; creating a more positive experience with your brand.
Tips for Beginners
Don't worry about being perfect at first. Practice makes better!
Listen carefully. Rewind if you need to.
Read your transcript out loud. Does it make sense?
Use online tools. There are programs that can help you transcribe.
Keep it simple. Clear and easy is best.
Remember, your goal is to make your content accessible to everyone. By following these steps, you'll be on your way to creating a more inclusive brand!

Get started with digital accessibility.
Check off six common online accessibility barriers as you create your content each month.